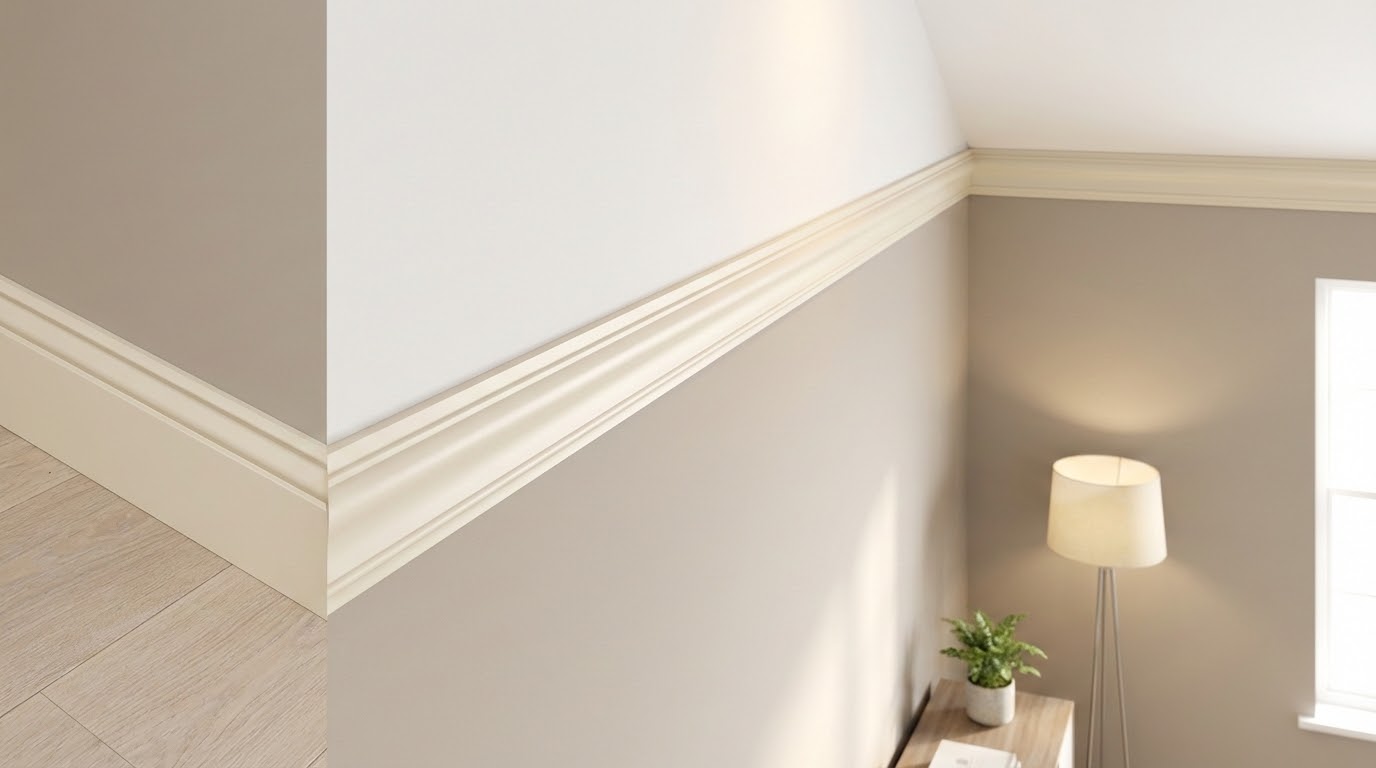
Transform your living space with a timeless architectural detail that bridges walls and ceilings. This elegant trim work creates a polished, finished look that makes any area feel more sophisticated. Many homeowners find this upgrade surprisingly achievable.
Professional contractors rate this project as moderately challenging. With patience and proper technique, you can complete it in about 6-8 hours for an average space. The cost ranges from budget-friendly options starting around $100 to custom designs reaching higher price points.
You can purchase materials by the foot at major retailers like Home Depot or Lowe’s. Custom cabinetry shops offer specialized profiles for unique design visions. This guide will walk you through planning, tools, and professional techniques.
While the process may seem daunting initially, our step-by-step approach makes it manageable. You’ll learn how to achieve beautiful results that complement various styles, from traditional to contemporary designs.
Key Takeaways
- Crown molding creates an elegant transition between walls and ceilings
- This project has a moderate skill level and takes 6-8 hours for most rooms
- Costs range from $60 to $618 depending on materials and complexity
- Materials are available at Home Depot, Lowe’s, and specialty shops
- Proper planning and technique lead to professional-looking results
- The upgrade works with various design styles from traditional to modern
- This DIY project can dramatically enhance a room’s architectural appeal
Getting Started with Crown Molding
The journey to elegant room detailing starts with careful measurement and strategic layout planning. This preparation phase ensures your project flows smoothly from start to finish.
Understanding the Benefits and Style Impact
Adding architectural trim creates visual height and character in any space. It makes ceilings appear higher and rooms feel more complete.
Different profiles work with various design aesthetics. You can achieve traditional elegance or modern simplicity. The right choice depends on your room’s proportions.
| Style Type | Best For | Key Features |
|---|---|---|
| Traditional | Formal living spaces | Intricate curves and details |
| Modern | Contemporary homes | Clean lines and simplicity |
| Transitional | Mixed decor styles | Balanced proportions |
| Craftsman | Arts and crafts interiors | Straightforward geometric patterns |
Planning Your Room Layout and Measuring Walls
Accurate measurements prevent material waste and frustration. Sketch your room on grid paper first. Measure each wall carefully.
Number walls counterclockwise from the door wall. This system simplifies your workflow. Plan to install outside corners last for easier fitting.
Purchase slightly longer pieces than needed. This allows for adjustment during the process. Proper planning makes the entire project more enjoyable.
Tools, Materials, and Safety Preparations
Before making your first cut, assembling a comprehensive toolkit will set you up for success with this decorative upgrade. Having everything organized saves time and reduces frustration during the process.
Essential Tools and Supplies
A power miter saw is your most critical tool for precise angled cuts. The Kreg Crown Jig ($35) helps position pieces correctly. Don’t forget a quality coping saw for tight inside corners.
For fastening, a 23g pin nailer leaves tiny holes that disappear easily. This beats brad nailers for finishing work. You’ll also need measuring tape, stud finder, and utility knife.
Pre-Installation Checks and Safety Measures
Choose your crown molding material carefully. Options range from $3-$8 per foot. Sherwin Williams Emerald Urethane Trim Enamel provides a durable finish that matches existing wood or trim.
Have wood filler ready for nail holes and caulk for gaps. Scrap wood cleats support pieces when ceiling gaps exist. Always wear safety glasses with power tools.
Organize your workspace before starting. Pre-number pieces to match your installation diagram. This systematic approach prevents mistakes.
Step-by-Step Crown Molding Installation
Achieving professional-looking room detailing requires a systematic approach from start to finish. This process builds confidence as you move from simple cuts to more complex techniques.
Mapping Out Your Project and Diagramming Corners
Begin by sketching your room layout on grid paper. Mark every wall and identify each corner type clearly.
Use chalk lines to establish where the bottom edge will sit. This creates a consistent guide throughout your work. Locate studs and joists for secure fastening points.
Remember the “arrow” method for corners. Arrows pointing inward indicate inside corners, while outward arrows show outside corners. Start with shorter walls using straight cuts to build skills.
Cutting Techniques: Inside vs. Outside Corners
Set up your miter saw with the bottom edge against the fence. The top edge rests on the table surface. This upside-down positioning ensures accurate angles.
For inside corners, make a 45-degree miter cut first. Then use a coping saw at a slight back-angle to remove excess material. This creates a perfect fit against the adjoining piece.
Outside corners require complementary miter cuts. Test fit pieces before final installation. Our comprehensive DIY tutorial shows how to achieve seamless joints.
Leave ends loose initially for proper seating adjustments. This ensures the trim sits flush against both surfaces.
Crown Molding Installation: Tips for a Professional Finish
The difference between a good result and a great one often comes down to smart finishing strategies. Professional contractors use clever techniques that make achieving polished results much easier.
Using the Right Equipment for Precise Cuts
The Kreg Crown Jig eliminates guesswork about angles and positioning. This tool guides your board placement perfectly every time.
Practice cuts on scrap pieces first to build confidence. This prevents costly mistakes on your actual materials. Measure carefully and organize pieces according to your room diagram.
Tricks from the Pros and DIY Hacks
Preassemble entire sections before attaching them to walls. This technique creates tighter corners and straighter lines. Use a brad nailer for temporary holds during assembly.
Paint or stain your trim before installation whenever possible. Sprayers provide faster, more even coverage than brushes. You’ll still need to fill nail holes afterward, but this goes quickly.
For cabinets with ceiling gaps, install scrap wood cleats first. This gives you solid backing for secure nailing. The trim will sit properly on top rather than overlaying awkwardly.
Use wood filler for holes and caulk for small gaps. Color match your paint to existing cabinets at hardware stores. These finishing touches create seamless, built-in appearances.
Common Challenges and How to Overcome Them
Even experienced DIYers encounter hurdles when working with decorative trim, but knowing how to troubleshoot common issues makes all the difference. Most problems have straightforward solutions that will save you time and frustration.
Avoiding Gaps, Splits, and Uneven Fit
Gaps at joints are the most common frustration. Small spaces can be filled with caulk or wood filler. For larger gaps, you may need to recut the piece entirely.
When trim doesn’t sit flush against surfaces, check for uneven walls or ceilings. Use shims to create a level surface. This is why leaving ends loose initially helps with final adjustments.
Splitting wood during nailing is easily prevented. Always drill pilot holes near the ends of each piece. This simple step protects your materials.
If coped corners don’t fit tightly, use a wood rasp or utility knife to fine-tune the profile. Remove small amounts of material until you achieve a perfect fit.
Bowed pieces are often intentional when cut slightly long. Nailing the center will flatten the piece and squeeze corners tight. This technique creates seamless joints.
Walls that aren’t perfectly square require careful measuring. Adjust your miter cuts by a few degrees to compensate for irregular angles. Test fit pieces before final attachment.
Conclusion
Taking on this DIY challenge rewards you with both beautiful results and valuable home improvement skills. The transformation from basic to sophisticated is remarkable when architectural details frame your space perfectly.
While the project demands patience, homeowners with moderate skills can achieve professional-looking outcomes. Remember the key steps: careful planning, precise measuring, and mastering corner techniques. Your miter saw becomes your best friend for those critical angled cuts.
Starting with a smaller room builds confidence before tackling complex spaces. The finished look—with tight joints and smooth paint—makes every careful step worthwhile. This upgrade adds lasting value and completes your space beautifully.


