Updating your light fixtures can make your home look better and feel more welcoming. A new light fixture can brighten a room and even increase your home’s value. We’ll show you how to do this safely and easily, perfect for families wanting to update their homes.
Whether it’s your kitchen or your kids’ room, we’ve got you covered. Our guide will help you install modern pendants and update your wiring. It’s designed to be simple and rewarding.
Key Takeaways
- Updating light fixtures can enhance the style and value of your home.
- DIY wiring makes the update process approachable and safe.
- Modern pendants come in various styles to fit your home decor.
- Assessing your current fixtures is the first step in the update process.
- Gathering the right tools and materials ensures a smooth installation.
Understanding the Importance of Updating Light Fixtures
Lighting in our homes is more than just decoration. It makes our spaces warm and inviting. It also makes them more functional. Old light fixtures can be too dim and even dangerous, leading to electrical problems.
Switching to energy-efficient lights is a big plus. They use less energy and cut down on electricity costs. This change is good for the planet and our wallets.
When we think about improving our homes, modern lighting is key. Upgrading old fixtures can make our homes safer, more useful, and stylish.
Assessing Your Current Light Fixtures
Before you start updating your home lighting, it’s key to check your current fixtures. Look at how well they work and if they match your home’s style. Make sure they light up your space right and create the mood you want.
When you’re looking at your fixtures, think about their design and how they fit with your home. Old styles might not go with new trends, making your space look off. Also, check for any damage like dimming or flickering lights. These could mean it’s time for a new one.
Choosing the Right Replacement Fixtures
Choosing light fixtures is about finding the right mix of looks and function. The right fixture makes your home look better and works well. Think about your home’s style, the mood you want, and what each room needs in terms of light.
Considerations for Style and Functionality
Style and function are key when picking fixtures. A good fixture should match your decor and light up the room well. Here are some things to keep in mind:
- Assess your room’s size and layout.
- Determine the appropriate brightness level needed.
- Consider energy efficiency and bulb compatibility.
- Look for durable materials that complement your design theme.
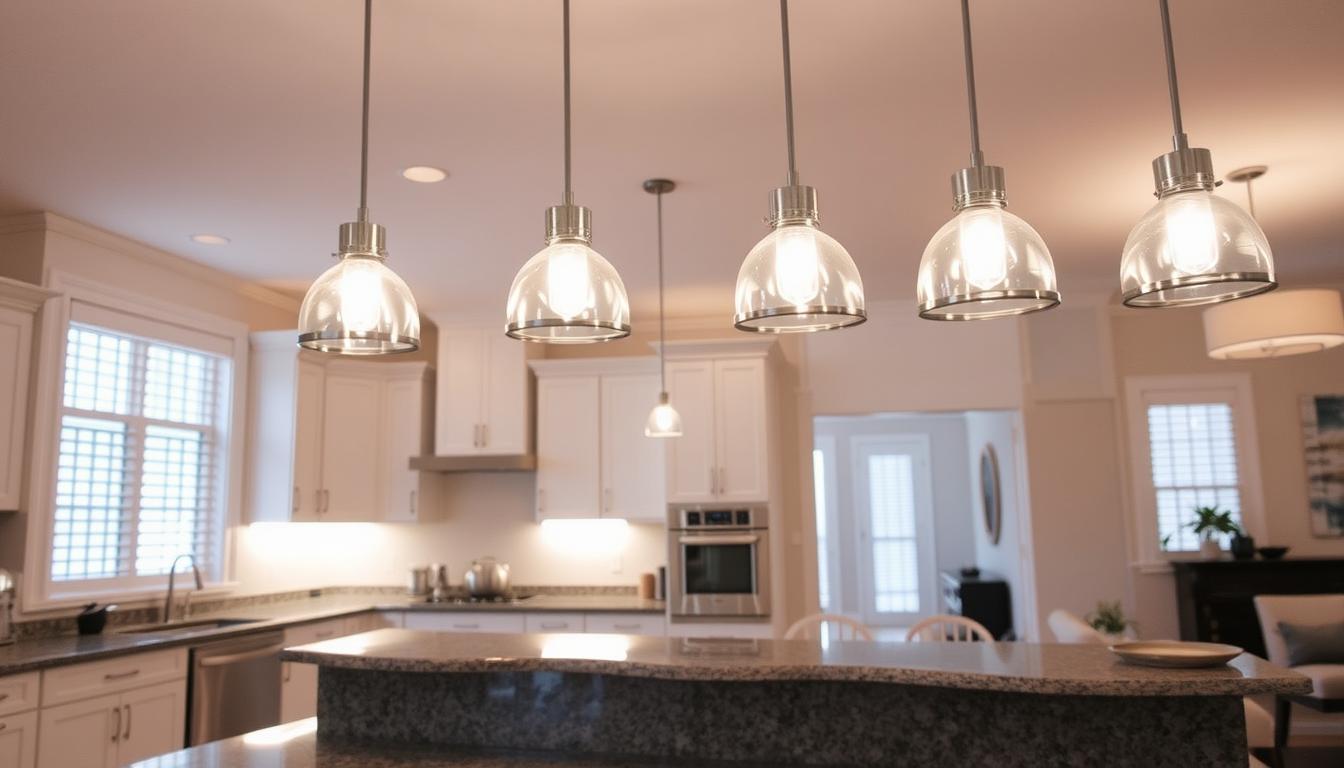
Types of Modern Pendants to Explore
Modern pendant lights add personality to a room. They light up the space and catch the eye. Check out these styles:
| Style | Description | Best Suited for |
|---|---|---|
| Industrial | Exposed bulbs and metal finishes for a raw, urban feel. | Kitchens, dining halls |
| Farmhouse | Rustic charm with wooden accents and soft lighting. | Bedrooms, living rooms |
| Contemporary | Sleek lines and bold colors for a modern touch. | Open spaces, offices |
Gathering the Necessary Tools and Materials
Getting ready for light fixture installation means picking the right tools and materials. Having the correct items makes the job easier and faster. A well-prepared space and the right tools help avoid problems and keep us safe.
Essential Tools for DIY Wiring
For DIY wiring, some tools are must-haves. They help us work safely and efficiently. Here are the tools we suggest:
- Wire strippers
- Screwdrivers
- Voltage tester
- Pliers
- Drill with bits
Materials You’ll Need for Installation
Choosing the right materials is key for a successful installation. You’ll need more than just the new fixture. Here’s what else to get:
- Electrical connectors
- Screws
- Mounting bracket (if necessary)
- Wire nuts
- Electrical tape
Having these tools and materials ready saves time. It means fewer trips to the hardware store.
How to Safely Remove Old Light Fixtures
Removing old light fixtures safely is key. First, turn off the power at the circuit breaker. This step is crucial to avoid electrical dangers.
Then, start by removing the fixture’s cover or shade. Carefully unscrew the fixture from its base. Make sure to support the fixture’s weight as you unscrew it. Next, disconnect the wiring with caution to avoid exposing bare wires.
Following these steps ensures a safe removal process. Upgrading your space can be liberating when done with care and attention to detail.
Update Outdated Light Fixtures: Step-by-Step Guide
Updating light fixtures step-by-step needs a good grasp of wiring basics. First, make sure you have the right tools and safety gear. When connecting wires, remember the color code: black to black (or brass), white to white (or silver), and green or copper for ground wiring. Sticking to these rules ensures a safe setup.
Wiring Principles You Should Know
Knowing basic wiring principles is key for any DIY electrical project. Each connection must be tight to avoid shorts or fires. Start by turning off the circuit breaker to stay safe. Then, look at your wires closely.
Misconnecting wires is a common error that can cause problems when the fixture is turned back on. Always double-check your connections before moving forward.
Common Wiring Mistakes to Avoid
When updating light fixtures, several common mistakes can happen. Here are a few to watch out for:
- Reversing the color of wires, which can lead to shorts.
- Failing to use wire nuts or electrical tape to secure connections.
- Neglecting to check compatibility between the new fixture and existing wiring.
- Ignoring local electrical codes or regulations.
By being careful with these wiring principles and common mistakes, you can confidently update your light fixtures. This ensures a safe and rewarding experience.
Installing New Fixtures: A DIY Approach
Now that the wiring is done, it’s time to install new light fixtures. This step brings new light to our space. It’s crucial to follow the manufacturer’s instructions for a successful setup.
Start by attaching the fixture to the mounting bracket securely. Connect the wiring correctly, matching colors and ensuring tight connections.
Before finishing, check that all parts are in place. This step is key for safety and function. Once everything is set, turn the power back on.
Then, step back and admire your work. DIY installation not only updates your home but also boosts your confidence in your skills.
Finishing Touches for Your Updated Light Fixtures
Now that our new fixtures are in, it’s time for the final touches. Stylish bulbs can make a room feel more welcoming. Look into decorative shades and other accessories to match your new lights.
Adding dimmer switches is also a great idea. They let us change the light’s brightness easily. This makes our space more versatile and comfortable.
Before we’re done, let’s clean around the fixtures. A clean look makes our updated lights stand out. Every little detail adds to the charm of our space.
Conclusion
Updating old light fixtures can change your home in big ways. It not only makes your home brighter but also boosts your sense of pride and creativity. By choosing the right fixtures and being careful during installation, we’ve made our homes better and more welcoming.
This guide should inspire you to start your own DIY project. Many people have shared their success stories, showing how fun it is to make your home brighter and more personal. Remember, the journey of updating your lights is just as exciting as the end result. So, get your family involved and enjoy the creative process!
When you update your lights, remember each change makes your home cozier and more unique. Use this chance to make a home that shows off your style and meets your family’s needs. Happy decorating!


