Looking to refresh your kitchen or bathroom without a major renovation? A well-chosen wall treatment can completely transform your space. This single upgrade brings new life to rooms you use every day.
Many homeowners are discovering how accessible these projects can be. With the right planning, you can achieve professional-looking results. Even beginners can tackle this rewarding DIY endeavor.
Throughout this guide, we’ll explore material options and the process from start to finish. You’ll learn how to select the perfect tile for your design vision. We’ll cover everything you need for a successful project.
These protective surfaces serve both practical and aesthetic purposes. They shield your walls from moisture and stains while creating a stunning focal point. With proper execution, this addition adds significant value and beauty to your home.
Key Takeaways
- A well-executed wall treatment can dramatically change your room’s appearance
- This type of project is popular for refreshing spaces without full renovations
- Many homeowners can successfully complete this as a DIY endeavor
- These surfaces provide both practical protection and design enhancement
- Proper planning leads to professional-looking results that add home value
- Various material options exist to suit different styles and budgets
- The process is more accessible than many people initially think
Overview of Kitchen and Bathroom Backsplashes
Many homeowners overlook the design potential of the vertical space above their countertops. This often-forgotten area actually serves as a crucial protective layer while offering incredible style opportunities.
The Role of a Backsplash in Home Design
Your kitchen and bathroom walls face constant exposure to moisture, grease, and food splatters. A well-chosen tile surface creates a durable barrier that’s easy to clean. This practical solution prevents damage to your wall surfaces over time.
Beyond protection, this feature acts as a visual anchor in your space. The right design ties together countertops, cabinets, and color schemes beautifully. Even a small area can dramatically impact your room’s overall aesthetic and perceived value.
Budget-Friendly DIY Ideas and Inspiration
Creating stunning results doesn’t require a huge budget. Many affordable tile options deliver high-end looks without the premium price tag. Peel-and-stick varieties offer particularly easy solutions for DIY enthusiasts.
Creative patterns and remnant materials can transform ordinary spaces into personal showcases. From classic subway tile to mosaic sheets, the possibilities are endless. Smart material choices make dramatic transformations accessible to most homeowners.
You can achieve professional-looking results with careful planning and patience. The key is selecting materials that match your skill level and design vision. Your finished project will add both beauty and functionality to your home.
Choosing the Perfect Materials for Your Project
The foundation of any successful tiling project begins with careful material selection that balances aesthetics with practicality. Your choices will determine both the visual impact and long-term durability of your finished space.
Tile Selection: Ceramic, Porcelain, and More
Ceramic tile remains a popular choice for kitchen applications due to its affordability and versatility. Glass options are gaining popularity for their reflective qualities that can brighten smaller spaces.
Consider the Cloe tile from Bedrosian Tile & Stone as an example. This white tile features subtle gray and beige variations that add texture while maintaining a clean appearance.
“The right tile choice can transform an ordinary wall into a stunning focal point that complements your overall design vision.”
| Tile Type | Durability | Cost Range | Best For |
|---|---|---|---|
| Ceramic | High | $200-$3,000 | Kitchens, high-traffic areas |
| Glass | Medium | $650-$1,500 | Bathrooms, accent walls |
| Porcelain | Very High | $400-$2,500 | Wet environments |
Adhesives, Grout, and Sealer Options
Modern adhesive solutions like MusselBound tiling mats eliminate the need for traditional thin-set mortar. This double-sided adhesive mat allows for same-day grouting by sticking tiles directly to the wall.
For grout, pre-mixed and pre-sealed options simplify the process. Popular colors include White, Pearl Gray, and Avalanche. Always follow manufacturer specifications for optimal results.
These material decisions are just as important as your overall bathroom design strategy. Choose products that match your skill level and design goals.
Gathering Tools and Resources for Installation
Before you begin your wall treatment project, gathering the essential tools will set you up for success. Having everything organized beforehand prevents interruptions and ensures a smooth workflow.
You’ll need both cutting tools and layout equipment. A complete toolkit makes the process much more manageable.
Essential Tools: Wet Saw, Tile Cutter, and Laser Level
A wet saw is surprisingly user-friendly for beginners. The blade uses water to grind through material rather than sharp cutting. This makes it one of the safest saw options available.
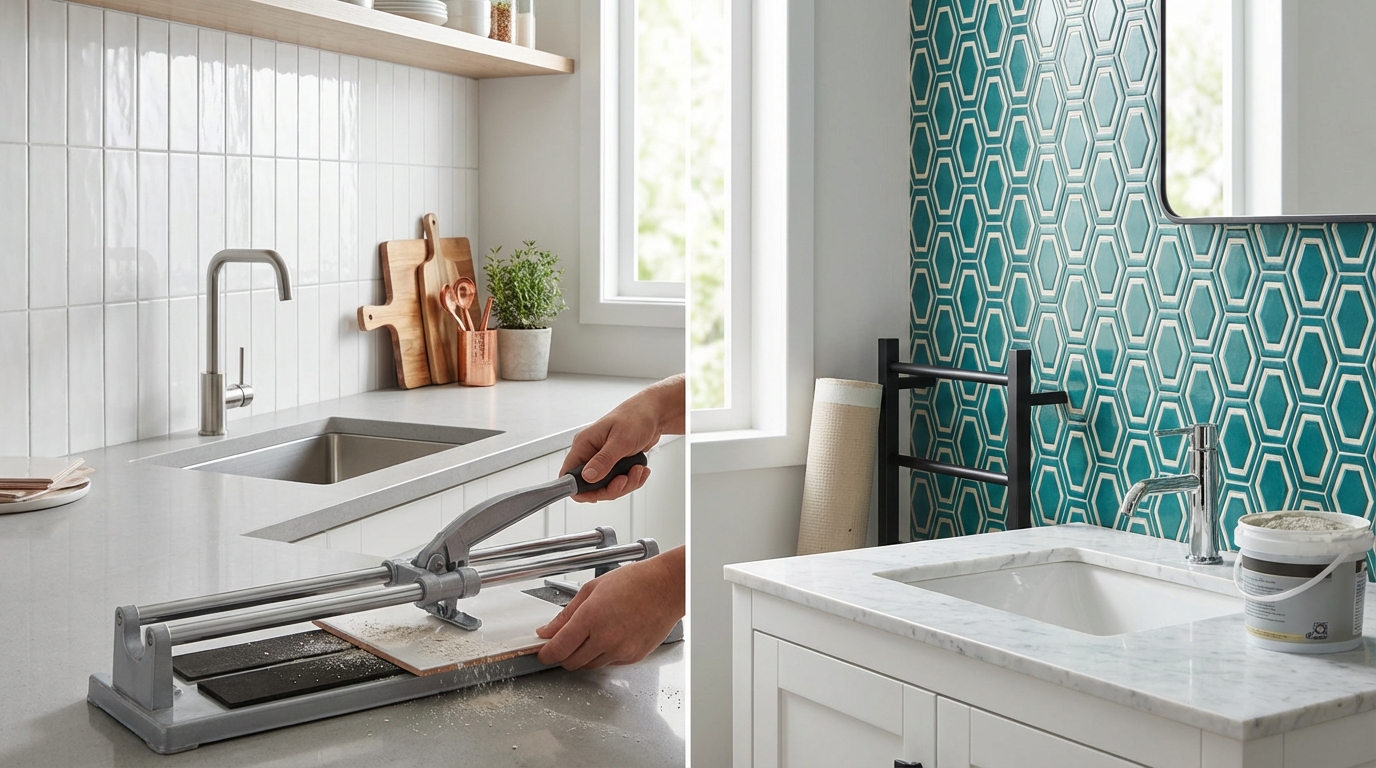
For straight cuts, a manual tile cutter creates minimal mess. It works by scoring and snapping tiles cleanly. This basic cutter handles most standard cuts efficiently.
A laser level ensures perfectly straight lines across your wall surface. This tool eliminates guesswork and guarantees professional alignment.
Don’t forget supporting items like a grout float for applying sealant. This specialized float spreads material evenly between tiles.
Spacers maintain consistent gaps for a uniform look. A clean sponge helps wipe away excess grout during cleanup.
Consider renting specialty equipment like a wet saw for one-time projects. A quality tile cutter is worth purchasing if you plan future DIY work.
Preparing Your Space for a Successful Install
Proper preparation separates amateur results from professional-quality finishes. Taking time now prevents problems later. Your effort here pays off in a beautiful, long-lasting result.
Cleaning and Repairing the Wall Surface
Start with a thorough cleaning of your wall area. Use a sponge or wet rag to remove all dust and grease. Let the surface dry completely before moving forward.
Check for any holes or imperfections in your drywall. Repair these areas to create a smooth, flat surface. This ensures proper adhesion for your tile project.
Safety Precautions: Removing Outlet Covers and Protecting Surfaces
Always turn off power to the room before beginning. Remove all outlet covers and switch plates carefully. Unscrew outlets and pull them slightly away from the wall.
Protect surrounding surfaces with painter’s tape. Cover countertops, cabinets, and appliances. This prevents accidental damage during your work.
A clean, prepared space makes the entire process smoother. Your careful attention to detail now ensures professional results later.
Planning Your Tile Layout and Design
Strategic tile placement planning transforms ordinary materials into extraordinary design statements that elevate your entire space. This crucial phase prevents awkward cuts and ensures balanced visual appeal.
Begin by carefully measuring your wall area’s length and width. Accurate measurements help you calculate the exact quantity of tiles needed. This prevents last-minute material shortages.
Dry-Laying Tiles and Using Spacers
Find the center point of your wall area and mark a vertical line. Many tile patterns look best when centered. This creates symmetrical balance in your final design.
Dry-lay your tiles on the floor using temporary spacers. Arrange them exactly as they’ll appear on the wall. This lets you visualize the complete layout before commitment.
Check both vertical and horizontal arrangements with spacers in place. Look for any pieces that would need extremely narrow cuts. Adjust your starting point to avoid tiny slivers.
Your first row must be perfectly level since every subsequent row builds upon it. Use a laser level to guarantee straight alignment from the beginning.
For mosaic tiles or subway patterns, spacers maintain consistent gaps. Artisan tiles with irregular edges might work better with organic spacing. Choose what complements your tile’s character.
Backsplash Installation: A Step-by-Step How-To Guide
The moment has arrived to transform your prepared wall into a beautiful, functional surface. This hands-on phase brings your planning to life with each tile you place.
Applying Adhesive and Setting Up Your Tiles
Begin by cutting your adhesive mat to size using a utility knife. Peel off the protective paper and press your first tile firmly into position.
Start from the center and work outward for balanced results. Remember that adhesive mats are very sticky, so position each piece carefully before final placement.
Cutting Tiles: Manual Tile Cutter vs. Wet Saw
For straight cuts, a manual tile cutter creates clean lines with minimal mess. Simply measure, score, and snap the material.
Complex shapes require a wet saw for precision cutting. Mark your cut lines clearly and proceed slowly for professional results.
Grouting Techniques for a Professional Finish
Use pre-mixed grout for consistent results. Hold your grout float at a 45-degree angle and press material firmly into the spaces.
Work in small sections and wipe excess grout with a damp sponge. Clean perpendicular to the lines for the best finish.
Allow proper drying time before final cleaning. Your patience during this process ensures a stunning, long-lasting result.
Troubleshooting Common Installation Challenges
Even experienced DIYers can encounter unexpected challenges when working with wall treatments. Recognizing problems early makes correction much easier. This section helps you identify and fix common issues.
Overcoming Leveling and Alignment Issues
Your first row of tiles sets the foundation for everything above it. If this initial level isn’t perfect, each subsequent row compounds the error. Check alignment constantly with your laser tool.
When tiles start drifting off-course, make micro-adjustments before the adhesive sets. Gently tap misaligned pieces with a rubber mallet. Time is your ally here—don’t rush the process.
For mosaic tile patterns, use spacers religiously. These small tools maintain consistent gaps between pieces. They prevent the frustrating domino effect of crooked lines.
Preventing Common Grout and Tile Placement Errors
Inadequate grout in the grout lines creates weak spots that can fail over time. Press material firmly into spaces using a grout float at a 45-degree angle. Ensure each line is completely filled.
Avoid color mismatches between your tile and grout. Test combinations on a sample board first. Common installation mistakes often stem from rushing this crucial step.
Press each tile firmly into place to prevent hollow spots. Listen for a solid sound indicating good contact. This simple check prevents loose pieces later.
Most errors can be corrected if caught early. Patience transforms frustrating moments into valuable learning experiences. Your finished project will reflect the care you took along the way.
DIY vs. Professional Installation Considerations
When planning your kitchen upgrade, one of the most important decisions is whether to install the protective wall surface yourself or hire an expert. This choice affects your budget, timeline, and final results significantly.
Homeowners should evaluate their skills, available time, and comfort with tools. Both approaches have distinct advantages worth considering carefully.
Cost Factors: Materials, Labor, and Time
DIY projects typically cost $900-$1,500 for a standard kitchen area. Professional services range from $2,500-$3,000 for the same work.
Material expenses vary widely. Ceramic options start around $200, while premium glass tiles can reach $1,500. Labor costs add $5-$9 per square foot for professional help.
Time investment differs dramatically between approaches. DIY work requires patience and often takes longer than expected. Professionals complete the job efficiently but at higher cost.
Your skill level and project complexity should guide your decision. Simple patterns with straightforward tiles work well for beginners. Complex designs might benefit from expert handling.
Consider renting tools like wet saws for one-time projects. This keeps costs manageable while ensuring proper equipment for quality results.
Many motivated homeowners achieve beautiful outcomes with careful planning. The key is honest self-assessment of your abilities and available time.
Conclusion
Your newly transformed space now stands as a testament to careful planning and execution. This kitchen or bathroom enhancement brings both beauty and protection to your home.
The skills you’ve developed—measuring, cutting, and applying materials—serve you well beyond this single project. Each step in our guide builds confidence for future DIY endeavors.
Follow your manufacturer‘s recommendations for sealer application to maintain that fresh look. Proper care ensures your beautiful wall surface lasts for years.
Take pride in your accomplishment every time you enter the room. Your dedication to the process creates a space that truly reflects your personal design vision.
FAQ
What is the main purpose of a backsplash in a kitchen or bathroom?
A backsplash serves as a protective barrier for your walls against moisture, grease, and food splatters. It’s also a fantastic way to add a major style element and personalize your space with color, texture, and design.
Can I install a tile backsplash myself if I’m a beginner?
A> Absolutely! Many homeowners successfully tackle this as a DIY project. Starting with a simple design, like classic subway tile, and using helpful tools like a laser level and spacers can make the process much smoother. Just be sure to take your time and follow the instructions for your adhesive and grout carefully.
What’s the difference between using a manual tile cutter and a wet saw?
A manual cutter is great for straight cuts on ceramic and porcelain materials. It’s less messy and perfect for most DIY jobs. A wet saw uses a diamond blade and water to cool it, making it essential for complex cuts, intricate shapes, or very hard materials like natural stone. Renting one is a good option for a single project.
How do I handle electrical outlets when installing my new backsplash?
Safety first! Always turn off the power to the outlets at your circuit breaker before you start. Then, carefully remove the outlet covers. You’ll cut your tiles to fit around the outlets. After the grout has fully cured, you can install new, extended outlet covers that sit flush with your new tile surface.
How long should I wait after installing the tiles before I apply the grout?
It’s crucial to follow the manufacturer’s directions on your adhesive package. Typically, you should wait at least 24 hours to ensure the mortar has set completely. Applying grout too soon can disturb the tiles and lead to alignment issues.
What is the best way to keep my grout lines looking clean and new?
Applying a quality grout sealer after the grout has fully cured is the best defense against stains and moisture. It creates an invisible barrier that makes cleaning much easier. Just remember to reapply the sealer every year or so, depending on the product, to maintain protection.


